

Resin Tumblers are a popular product to make right now, whether creating them for yourself or to sell as part of your resin business, creating tumblers is a great skill to learn.
In this weeks blog we're going to share how to create your own bespoke tumblers which will be perfect to make as a resin pro or complete novice. As always we'll teach you the basics, but you can get as creative as you'd like to with your own Tumbler designs.

Before we begin, let's talk about food safety with regards to Craft Resin (other brands food safety guidance may vary)...
Once Craft Resin is cured, and has fully hardened, your resin project can be used safely as a food contact surface. Craft Resin has been tested by a third party for leaching and migration across worldwide standards and passed all testing: When you use Craft Resin as directed, the fully cured resin will not leach any substances into food that comes into contact with it.
Craft Resin is also BPA free, which you can find the information for in our Safety Data Sheet webpage in the Technical Information documents.
With resin tumblers the liquid itself won't be touching the resin for extended periods as you create your tumbler around an insert called a tumble cup. However as you drink from the tumbler (unless you use a straw) your lips may touch it. Knowing that Craft Resin is safe for use in this way will hopefully put your mind at ease that this is ok to do.

The best type of cup to use as an insert are metal ones as resin can bond to these better than the plastic cups you can get. You might also want to consider an insulated cup so that if you choose to use add hot drinks to the tumbler, over time the heat generated won't affect the resin on the outside of the cup.
To prep your tumble cups for resin, you will need to sand the top layer of the cups so that the resin bonds to them. You can use sandpaper with a grit of between 400-600 for this task. Once sanded you will need to wash off any fine sanding dust that can cling to the tumbler cups, once washed make sure you then dry your cups fully before use.
When prepping your tumbler cups it's also a good idea to apply a tape like frogtape to any areas of the cup that you don't want the resin to flow onto, such as just inside the top lip of the cup. You will then be able to easily remove any resin that does form in that area once the resin is cured.
As the final preparation to your tumbler cups you might want to apply a layer of spray paint to the outside of your tumbler, making sure it's a spray paint that adheres to metal. Please leave this to fully dry before applying resin on top of the painted area. This step is only required if applying a clear layer of epoxy resin to your tumbler cup, as this will colour the tumbler below. If using coloured resin for your project, you can skip this step.
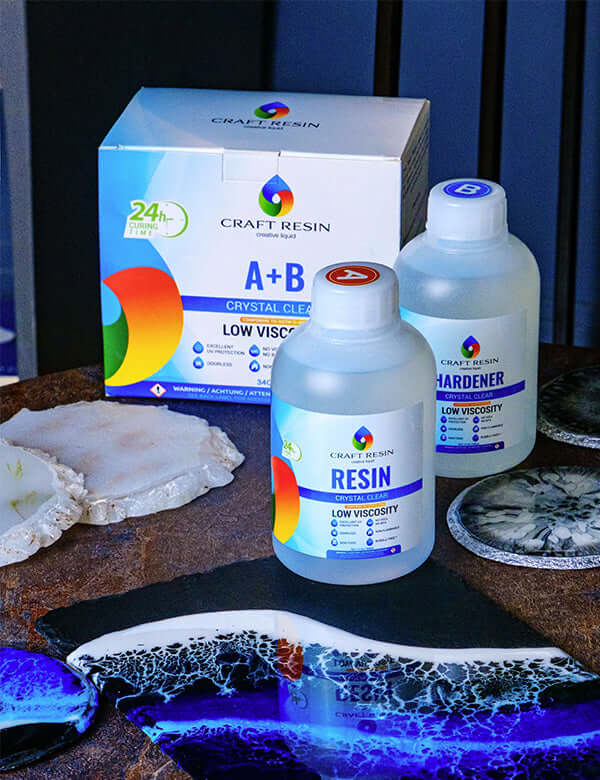
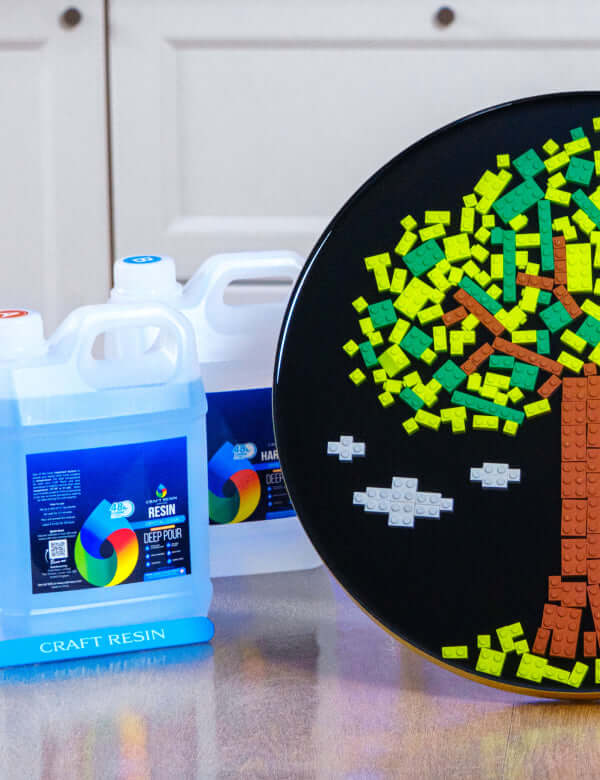
Once you are ready to resin your cup, you will need to prepare your epoxy resin. Because covering tumblers in resin doesn't require large amounts of resin, when creating one or two at once, you can use our normal Low Viscosity resin for this task. If you are creating multiple tumblers at once, and you need to mix larger amounts of resin in one go, you might want to consider using our Deep Pour resin. Please note our Deep Pour resin will need longer to cure than our normal resin will, and therefore you will need to keep your cups turning longer than you would when using our normal resin.
Follow your How To Use guidance that comes in your resin kits for how to measure, mix and pour both our normal resin and Deep Pour resin.
In order to create resin tumblers you will need to keep the cups in constant rotation in order to get the resin to cure around the tumbler cups. If you pour the resin onto the cups and they aren't in motion, the resin will pour off one side and you won't get even coverage on your cups. You can do this by hand, but it will be very difficult to do and time consuming. It is much easier if you purchase a tumbler cup turner, which will keep the cups turning for you. Follow the instructions that come with the tumbler cup turner you purchase, and make sure you cover your workspace below the cups with plenty of protection in case any resin does drip below the cups. Tumbler cup turners can easily be purchased from places like Amazon.

Once you've set up your cup insert on the turner, you can start it rotating. Once in rotation you can slowly pour your resin mix onto the cup. Pour in small stages, you can always add more, but it can be difficult to control if you pour too much in one go.
Use your gloved hands as the cup is turning to spread the resin over the cup evenly. This part can get messy which is why you need to protect around this area, resin is extremely sticky and difficult to get off of tables and carpets if any gets onto them!
You can build the resin up in layers on your tumbler projects, so go sparingly at first and then add more layers to get desired colour/patterned looks later down the line.
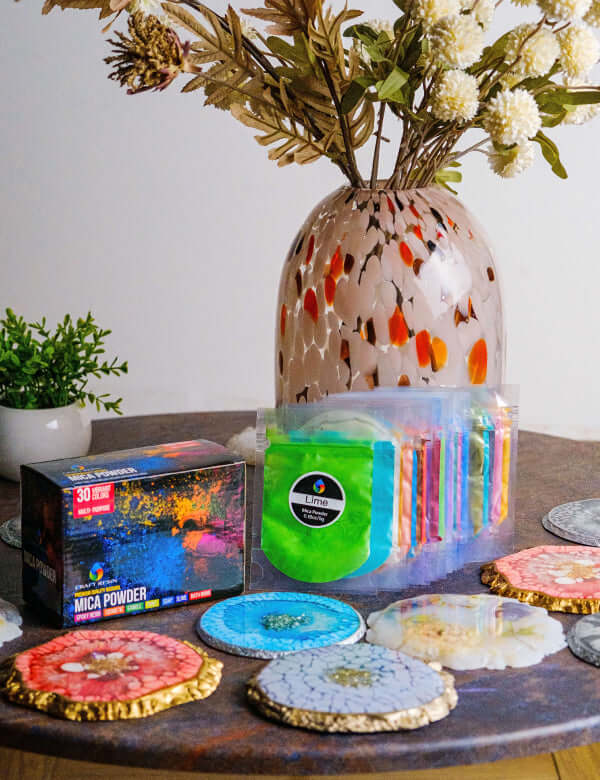
Once your first layer of resin is on the tumbler you can add items like glitter, which as it's turning can be very easy to apply. Experiment and have fun with creating your perfect tumbler look, at first you might want to start by adding very basic materials, but over time you'll expand the items you can add to create different looks in your tumblers.

If you do add items like glitter onto your cup, you'll then want to pour a second layer of resin above it so that the glitter is encased in the resin. The resin will protect the glitter so it won't come loose when you wash and clean the cups. To add a second layer leave your cups turing for between 3 - 5 hours, then just as you did for your first layer, apply your second. You can do this with as many layers that you'd like to, but bear in mind your tumbler will be getting thicker and thicker with each layer poured.
If you end up waiting longer than 5 hours to add on another layer, you will need to leave it to fully cure before then sanding down the bottom layer, cleaning the sanding dust off and applying another layer to your cup. The reason you need to sand fully cured resin when applying layers is because it then allows the top and bottom layers to bond together.
Please make sure that when your resin is curing it is being left in a warmed room, the ideal temperature for curing is between 21-24C or 70-75F. You also want to make sure the temperature doesn't dip below this during the initial 24 hour (48 hours if using Deep Pour) curing time or issues in the resin can occur.
If you notice any bubbles forming during the first hour or so of pouring your resin onto your cup, you can use a heat torch to get rid of these. Please don't keep the heat torch on one area of the project for too long or it could over torch your work, gently sweep it over and the bubbles should pop before your eyes.

Your resin will take 24 hours to fully cure if using our normal resin, or 48 hours if using our Deep Pour resin. You don't need to keep your cup turning for this whole time if you don't want to. It just needs to be turning long enough for your resin to harden enough to not move anymore. If you leave it between about 8-10 hours turning, this should be enough time when using our normal resin, the Deep Pour resin will need longer. If you are unsure then please do keep it turning longer.
If you have added frogtape to the inside lip of your cup, once cured (after the 24/48 hour mark) you can then remove this. If minimal resin has pooled onto the tape you might be able to easily peel this off. If resin has got onto it and cured this might be harder, so you might need to gently warm the resin on the taped lip with something like a hair dryer to soften it so you can remove it easier. Be careful not to leave the heat on the whole cup as this will soften all your resin on the cup and then can create issues.
If you haven't used tape on the inner lip, but you have got resin inside the cup, this can be easily removed. As the inside of the metal cup hasn't been sanded, the resin won't bond to it, so you should be able to use something like a stanley knife and gently remove this from the inside lip.
If any sharp edges are left on the lip of the cup you can use sandpaper to gently remove these, be careful not to sand too much at this point. Once you have the lip area smooth again, you can clean your cups out and then they are ready to add the lids onto them, and they are ready for use.

Please never put your tumbler cups into a dishwasher to clean as the high temperatures inside will distort and damage the project. Wash gently with warm, not boiling, soapy water to clean your cups. Never use harsh chemicals on resin as this can make resin items look dull over time. Always include this information for your customers if selling your tumblers to customers.
If you do create your own resin tumblers using Craft Resin, we'd love to see them. Please head over to our instagram channel and tag us in any posts/stories where you share your projects:
@craft.resin
Topic Of The Week Giveaway:
We have attached a giveaway to these Topic Of The Week announcements on our Instagram platform, this is helping us to spread the knowledge of how to use epoxy resin further, but also enabling anyone who helps us share this information to win free resin and mica powders.

To enter the weekly giveaway please see the latest post pinned to the top of our Instagram feed and follow the instructions to enter:
Team Craft Resin

