

Working with wood and epoxy resin can indeed lead to stunning creations, and it has gained popularity in recent years due to its versatility and aesthetic appeal.

Working with wood and epoxy resin can be a rewarding and creative process. Here's a step-by-step guide to help you get started:
Materials you will need:
- Wood of your choice
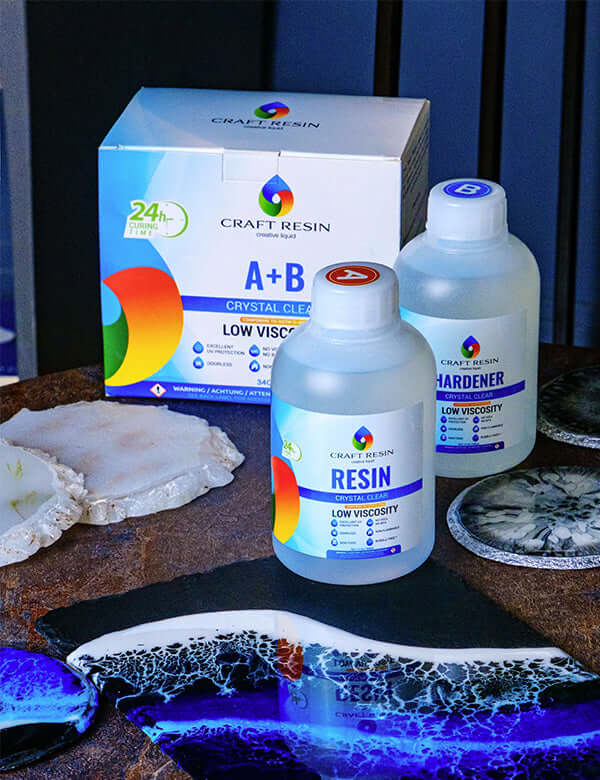
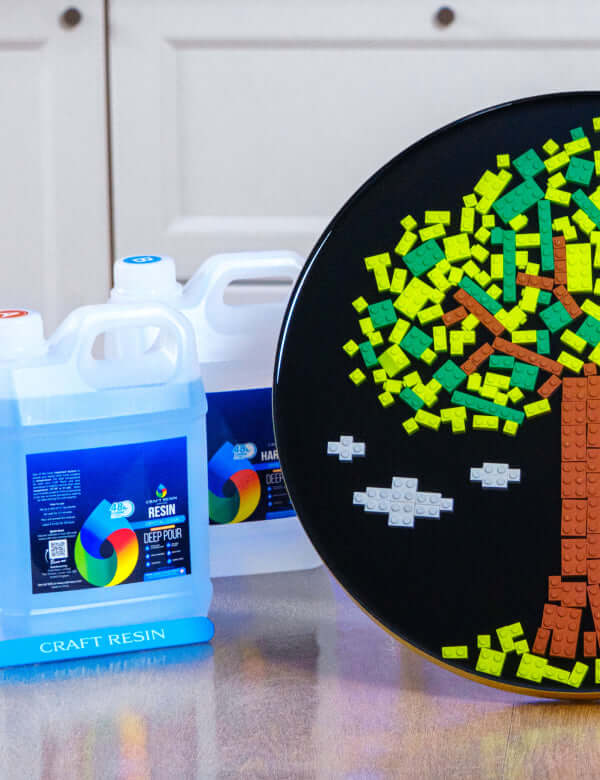
- Craft Resin Epoxy Resin (Deep Pour for larger projects)
- Mixing cups and stir sticks
- Sandpaper (80-120 grit for wood preparation, higher grits for finishing)
- Plastic sheeting to protect your work area
- Adhesive tape or ready-made molds (if needed)
- Leveling aids (wooden blocks or similar)
- Optional: paint primer, wood treatment (if required)
Step 1: Selecting and Preparing the Wood
1. Choose the type of wood you want to work with. Although you can use most woods alongside epoxy resin, the best woods to use is the flattest piece of live wood you can find, woods like Yew, Elm, Oak or Black Walnut look really great when used with epoxy resin. Experiment with small off-cuts if you're unsure how the epoxy resin will interact with the wood's appearance.
2. Check the moisture content of the wood, ensuring it's below 12% to avoid issues with the resin.
3. Cut the wood into your desired shape if needed. Then sand the wood with 80-120 grit sandpaper to create a surface for the epoxy resin to bond to. Remove any dust after sanding. If you have used a wet cloth to remove the sanding dust leave to fully dry before applying the resin mix.

Step 2: Setting Up Your Work Area
1. Cover your work area and flooring with plastic sheeting to protect them from spills and mess.
2. Control the temperature in your workspace and curing area, maintaining it between 21-24°C (70-75°F) during the initial 24 hours of curing (48 Hours if using our Deep Pour resin).
3. Ensure your workspace is as clean as possible to prevent dirt or dust from getting trapped in the resin.
4. Make sure you have the correct PPE on and your space is well ventilated. You should wear gloves, a plastic apron and tie long hair back. When dealing with wood you might also need goggles or safety glasses. If you cannot tell if your space is well ventilated, or you can't control the temperature while keeping the space ventilated, please wear a respirator.
You can find out more about the safety precautions you'll need to take when using Craft Resin here.

Step 3: Creating Molds (if needed)
1. If your project has gaps or edges that aren't enclosed, you'll need a mold to contain the epoxy resin while it cures. Epoxy resin is a liquid that flows and moves, if you do not contain it, it will flow over edges.
2. Use high-quality adhesive tape or ready-made molds to create the necessary barriers around the surface you want to seal. You can buy ready made molds for casting wood resin projects from places like @makersreusablemold, these can even be reused again and again, and although an initial outlay, may be worth it if you are going to create multiple projects of the same size.
3. Level the surface before pouring the resin, using wooden blocks or similar aids underneath. Check it is level with a spirit level.

Step 4: Mixing and Pouring the Epoxy Resin
1. Follow the instructions in your resin kits for mixing the epoxy resin and hardener in the correct proportions. Our Deep Pour resin needs different measuring techniques to our normal resin, other brands might have other techniques completely so always check the guidance for the resin you have purchased.
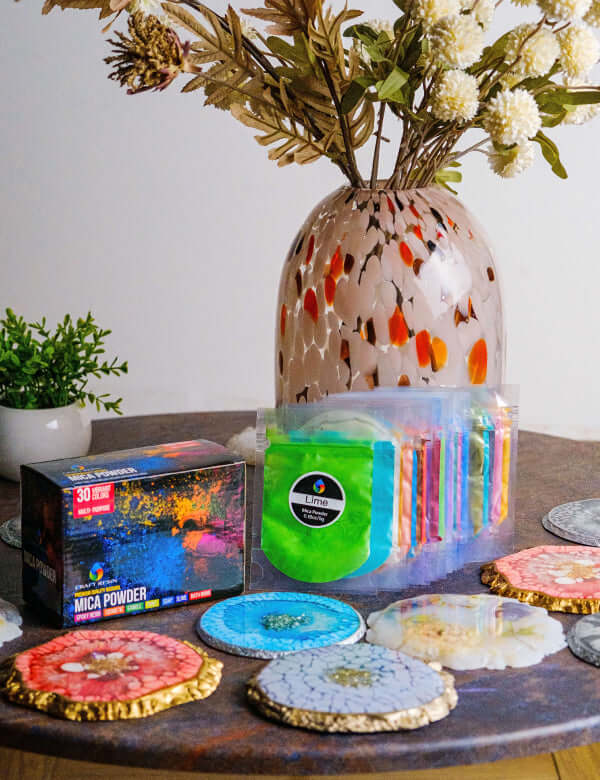
2. Stir thoroughly to ensure an even mixture. You might need to stir for longer than 3 minutes, a good rule to follow is to stir the resin and hardener till there are no lines/streaks left in the mixture, and then add colourant if you are wanting it coloured. Please mix slowly and controlled to ensure the least amount of bubbles form in the resin mix and that the edges, sides and bottom of your mixing container are scraped as you stir.
3. Pour the epoxy resin into the molds or onto the wood, depending on your project's design. If you're using the resin to fill holes, pour directly into the voids.
4. For projects with multiple layers, allow each layer to cure before adding the next one. Follow specific guidance if you're using Craft Resin for layered projects. Layers aren't always necessary, if you're using Craft Resin's Deep Pour resin you can mix and pour more resin in one go without layering as the exothermic reaction in that products doesn't increase the temperature to a level that could flash cure, unlike out normal resin.

Step 5: Curing and Finishing
1. Allow the resin to cure for the recommended time (usually 24 hours for our normal resin or 48 hours for our Deep pour resin, project dependant). The curing time may vary depending on the temperature and the thickness of the project.
2. After curing, de-mold your project carefully. If there are any excess resin or rough edges, use sandpaper to level and smooth the surface.
3. For projects intended for food use, apply appropriate wood treatments following personal research. Craft Resin is safe as a food contact surface once fully cured, without the next for any treatments. See the Food safety guidance here.

Remember to always conduct more research and follow the instructions provided by the epoxy resin brand you are using. Practice on smaller projects before attempting larger or more intricate creations. Working with wood and epoxy resin can be an art form that requires patience and experimentation to achieve the desired results.
Topic Of The Week Giveaway:
We have attached a giveaway to these Topic Of The Week announcements on our Instagram platform, this is helping us to spread the knowledge of how to use epoxy resin further, but also enabling anyone who helps us share this information to win free resin and mica powders.

To enter the weekly giveaway please see the latest post pinned to the top of our Instagram feed and follow the instructions to enter:
Team Craft Resin

